Tuesday, August 19, 2014

Selling Handmade

Since childhood, I wanted to make things with my hands and sell them. In 5th grade, I made bead lizards out of plastic pony beads and little felt snakes stuffed with brown rice. My mother helped me create a display board to take to school, and I sold each little creature for fifty cents to my classmates. My dad helped me with my first eBay listing- one of those beaded lizards. It never sold, but I remained determined to grow up and one day sell my handmade wares.

After high school, I went to college to study Fashion Design and Art History. I became obsessed with learning as much as I could about design and technique. I worked a few jobs as a seamstress, and later became the costume designer for a local theater. Along the way, I discovered Etsy and sold a few hand made things now and then, but I never had the time to invest in making up a bunch of stock for my store.

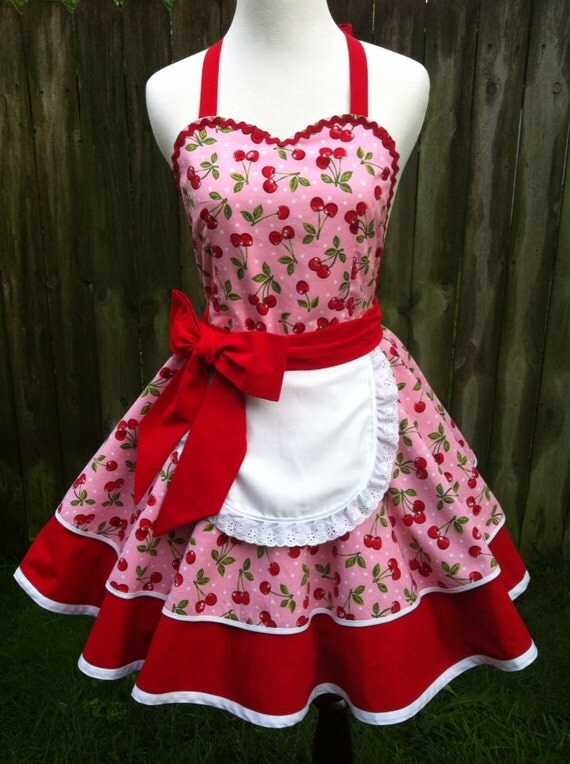
Fast forward to today, I have finally found the time to start putting my plans into action. I have started listing some handmade vintage inspired dresses and aprons. It feels great to be doing what I love, and rewarding to know I no longer have a boss soaking in all of the profits from my labor.

Sweet Cherry Pie Apron


So, I've sold some handmade items on Etsy, and I've sold clothing on eBay, but I've never nothing of this quality or quantity before. I have to admit, I'm probably going to do a happy little dance when I hear the "cha-ching" for the sale of one of these garments. I hope that these will take off and become a regular item in our eBay store.

We are, of course, going to continue picking thrift stores, yard sales etc. But it will be nice to have yet another kind of merchandise in the store.

-Ashley

Saturday, August 9, 2014

DIY: Add Value to Framed Art with a New Paper Backing

One of my favorite things to sell on eBay is art- especially framed paintings and prints. Framed art can be flipped with a great profit margin. Plus, you can hang it up to enjoy until it sells! Our walls are constantly changing as we sell and buy more art to list.


Thrift stores and yard sales are great sources for inexpensive art pieces, but they sometimes need a little sprucing up. One of the easiest things to fix is the often over-looked backside of the frame.


Most framed art is finished off with a brown paper backing. If that paper is torn or missing, it may detract from the value of the piece. With a few spare minutes and some basic supplies, you can easily replace the backing and leave a great impression on potential buyers.

What you need:

     - Brown Shipping Paper
     - 1 or 2 Glue Sticks
     - Razor Blade or Craft Knife
     - Cutting Mat


Start by removing the old paper backing. Try to take off as much as you can, but don't worry if there are a few remaining little bits stuck on. You will also need to remove any existing hardware for hanging. Set the hardware aside to re-attach later.

Next, roll out enough brown paper to cover the back of your frame, plus a margin of a few inches all the way around. Use weights or cans to hold the paper down and keep it in place.


Now you're ready for gluing. Working quickly, use a glue stick to cover the back of the frame, making sure to get glue all the way to the edges and each corner point. Do not put glue on the back of the matte.

Once you have applied glue, promptly flip the frame glue side down onto the brown paper. Leave a slight margin of paper all the way around the frame.

Press firmly around the edges of the frame to ensure a good seal. Then, leave it in place to dry for 10 to 15 minutes. Flip everything over so that the paper is now on top. Carefully check to make sure all edges are adhered. Add more glue if needed. Let dry paper side up for 10 to 15 minutes longer.

Next, turn your frame paper side down onto a cutting mat. Carefully slide a sharp razor blade or craft knife along the edge of the frame to remove the excess paper.

Re-attach hanging hardware and wipe the edges with a cloth to remove any residue.


Now, your framed art will look fresh professional. Don't forget to show off your handiwork in your listing photos!

Have any tips for framed art? Share them in the comments below!

- Ashley